
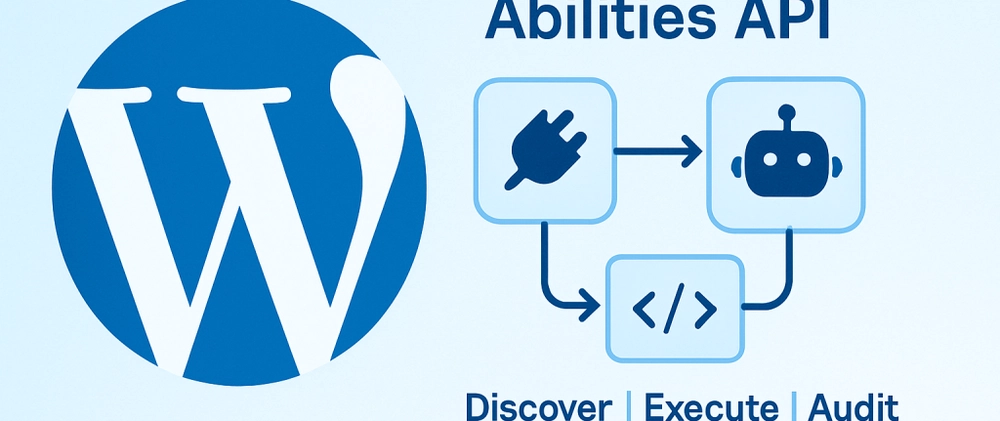
WordPress 6.9 added the Abilities API. It lets your site list the jobs it can do, like “create a draft” or “sync a product,” in a way other tools can read and run. That includes automation tools and AI agents.
This guide walks you through one small, safe first integration. You will register a category, register one ability, and lock it down with a permission check. The code below follows the official getting started guide.
What the Abilities API does
Think of it as a menu for your site. Each item on the menu is an ability. Each ability has:
- A name, with a namespace, like
my-plugin/create-draft - A label and description that people and agents can read
- A category that groups related abilities
- An input schema that says what data it expects
- An execute callback that does the work
- A permission callback that decides who is allowed to run it
Why it matters: other systems no longer have to guess what your site can do. They can look it up, see the inputs, and call it the same way every time. You can read the background in the WordPress 6.9 Abilities API announcement.
Step 1: Register a category
Every ability must belong to a category. You register the category first, on its own hook:
add_action( 'wp_abilities_api_categories_init', function () {
	wp_register_ability_category( 'my-plugin-content', array(
		'label'       => __( 'Content', 'my-plugin' ),
		'description' => __( 'Abilities that create or read site content.', 'my-plugin' ),
	) );
} );
Step 2: Register your first ability
Next, register the ability on wp_abilities_api_init. This one creates a draft post from a title and some content:
add_action( 'wp_abilities_api_init', function () {
	wp_register_ability( 'my-plugin/create-draft', array(
		'label'               => __( 'Create draft post', 'my-plugin' ),
		'description'         => __( 'Creates a draft post from a title and content.', 'my-plugin' ),
		'category'            => 'my-plugin-content',
		'input_schema'        => array(
			'type'       => 'object',
			'properties' => array(
				'title'   => array( 'type' => 'string' ),
				'content' => array( 'type' => 'string' ),
			),
			'required'   => array( 'title' ),
		),
		'output_schema'       => array(
			'type'        => 'integer',
			'description' => __( 'The ID of the new draft.', 'my-plugin' ),
		),
		'execute_callback'    => function ( $input ) {
			return wp_insert_post( array(
				'post_title'   => sanitize_text_field( $input['title'] ),
				'post_content' => wp_kses_post( $input['content'] ?? '' ),
				'post_status'  => 'draft',
			), true );
		},
		'permission_callback' => function () {
			return current_user_can( 'edit_posts' );
		},
		'meta'                => array(
			'show_in_rest' => true,
		),
	) );
} );
A few things to notice:
- The name uses a slash:
my-plugin/create-draft. That namespace keeps your abilities from clashing with other plugins. - The input is cleaned before it is saved, with
sanitize_text_field()andwp_kses_post(). - Only users who can edit posts are allowed to run it.
- The new post is always a draft. A person still decides what gets published.
Step 3: Expose it over REST (optional)
Setting show_in_rest to true lists the ability in the Abilities REST endpoints. Outside tools can then find it, see its inputs, and run it.
These endpoints use the same login and permission rules as the rest of the WordPress REST API. Your permission_callback still runs on every call. Leave show_in_rest off for anything you only want to use inside PHP.
Step 4: Connect it to AI agents
The WordPress MCP Adapter turns your abilities into tools that AI agents can use. Because each ability has its own schema and permission check, the agent only gets the exact jobs you allowed.
This is the same idea I use in my own AI workflow for WordPress development: give the AI a narrow door, and keep a human at the end of it.
Safety checklist
- Keep abilities small. Five narrow abilities are safer than one that can do everything.
- Always write a real permission check. Only use
__return_truefor read-only, public data. - Clean every input. Treat anything coming in from outside as untrusted.
- Start read-only. Add write abilities only after the read-only ones work well.
- Log what runs. Record the ability name, the user, and the inputs so you can review activity later.
- Default to drafts. Let a person approve anything that goes live.
FAQ
Which WordPress version do I need?
WordPress 6.9 or newer. The Abilities API is part of core from that version on.
Why does my ability not show up?
Check three things. Did you register the category before the ability? Does the ability name include a namespace with a slash? Is the category slug in the ability the same as the one you registered?
Do I need the REST API to use abilities?
No. Abilities work inside PHP on their own. The REST endpoints are only needed when an outside tool or agent has to reach them.
What to build next
- Build a small plugin with one read-only ability and one write ability.
- Test both with a user who should be allowed and one who should not.
- Put the plugin on GitHub with a short README and examples.
If you want to see how I take a small plugin from idea to release, read how I published my first WordPress.org plugin. For the tools I use day to day, see 5 ways my AI WordPress workflow speeds up development.
Want more posts like this? I write about modern WordPress development, AI tools, and building plugins. Follow along on DEV.to or GitHub, or subscribe with the RSS feed.
Also published on DEV.to.

Comments
No comments yet. ASCII, code, and plain punctuation are welcome.